Showing posts sorted by relevance for query Bramble Berry shopping cart. Sort by date Show all posts

Monday, March 26, 2018

Hidden Color Bath Bombs - Soap Queen

Read article : Hidden Color Bath Bombs - Soap Queen

Difficulty:Intermediate

Time:15-20 minutes

Yields:2-3 fizzies

Here’s a fun idea for a colorful surprise hidden inside a bath bomb. This tutorial is perfect for getting kids to take a bath, because there’s enough colorant in each bath bomb to color the bath water. And since you can’t see the color until the bath bomb is activated, you have to be in the bath to get your surprise! I originally came up with this idea … well, you’ll have to see why this weekend. =)

Hidden Color Bath Fizzy

Scroll down to the bottom of the post to see a mini fizzy coloring water!

Recipe:

1.5 cups Sodium Bicarbonate (Baking Soda)

1 cup Citric Acid

12 mL Baby Powder Fragrance Oil

Teal LaBomb Colorant

Witch Hazel (in a spray bottle)

Droppers with Suction Bulb

2-3 Stainless Steel Bath Bomb Molds

Mesh Strainer

Click here to add everything you need for this project to your Bramble Berry shopping cart!

OPTIONAL MOLD PREP: To aid in the unmolding of the bath bombs, add 5-10 drops of Cyclomethicone inside each half of the Stainless Steel Bath Bomb molds. Swirl it around so that there is a nice coat covering the inside of the molds. Set the molds on paper towels in a way that allows the excess Cyclomethicone to run out. You want just the thinnest coat of Cyclomethicone inside the molds.

Adding Cyclomethicone

ONE: Place the mesh strainer over the top of a bowl. Measure the Sodium Bicarbonate and Citric Acid and pour into bowl through the strainer. Work any clumps through the strainer. TIP: Citric Acid and Sodium Bicarbonate (Baking Soda) can tickle your nose, so you might want to wear a mask if you’re sensitive.

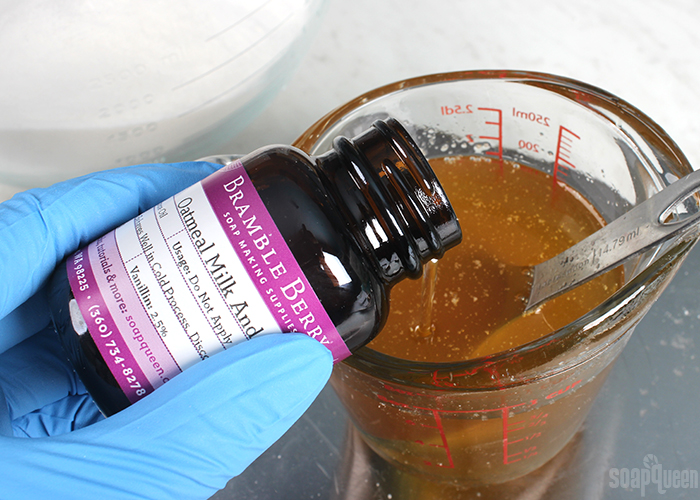
TWO: Add 12 mL Baby Powder Fragrance Oil to the mixture. Using your hands, mix until the fragrance oil is not longer causing clumps. NOTE: If your child is very sensitive to fragrance, keep the fragrance out or decrease the amount to only 6 ml. Some children find fragrance overwhelming.

Adding <a href=Fragrance Oil" src="http://images.soapqueen.com/HiddenColorBB/AddingFO.jpg" width="498" height="498" />

THREE: Spray the mixture with 5-10 spritzes of Witch Hazel and mix in well. You want to add just enough moisture so that the mixture holds together, but isn’t soggy. Keep adding Witch Hazel until the mixture reaches a consistency that you like. I know my mixture is ready when I squish some fizzy mixture in my hand and it mostly holds together. TIP: For great live-action shots of the ideal consistency of bath bomb mix before putting it into a mold, check out our latest Soap Queen TV with guest Jeanee Duvall of Dirty Laundry! It’s at minute 3:30.

Spritz <a href=Witch Hazel" src="http://images.soapqueen.com/HiddenColorBB/SpritzWitch.jpg" width="498" height="498" />

FOUR: Fill one half of each of the Stainless Steel Bath Bomb molds with bath bomb mix, pressing the mix as compact as possible. Make a crater or divot with your thumb, about 1/2″ deep with about 1/2″ on all sides in the center of the mold. Add 10-15 drops of Teal LaBomb into each divot. Fill the divot with more bath bomb mix, and create a slight mound in the center of the mold.

Color in divots

FIVE: Fill the other half of each of the Stainless Steel Bath Bomb molds all the way with bath bomb mix, also mounding the center slightly. Press two halves of the mold together, one colored half and one uncolored half, until there is no gap between between the two halves.

SIX: Waiting no longer than about 5 minutes, unmold the bath bombs by slowly twisting the mold halves and removing one half of the mold. If the second half of the mold is not quite ready to release yet, wait 5-10 minutes and then gently tap the mold from behind.

TIP: Take a peek at this bath bomb video for tips on unmolding the Stainless Steel Bath Bomb molds.

What's AM going to do with those tiny fizzies?

This idea also works for coloring smaller amounts of water. Cut the recipe in half, and use a small mold like the Petite Bendy Star Mold. Use the same technique of filling the mold half full, but use just one or two drops of colorant per cavity. One tiny bath bomb with two drops of colorant will nicely color about a cup and a half of water. Why did I test out such a small amount? Check back this weekend as I reveal some super exciting Bramble Bump news!

Coloring the Water

Click here for a printable PDF of this tutorial.

Friday, May 26, 2017

DIY Oatmeal Bath Bombs - Soap Queen

Read article : DIY Oatmeal Bath Bombs - Soap Queen

Difficulty:Intermediate

Time:30-45 minutes

Yields:About 7 bath bombs

<a href=
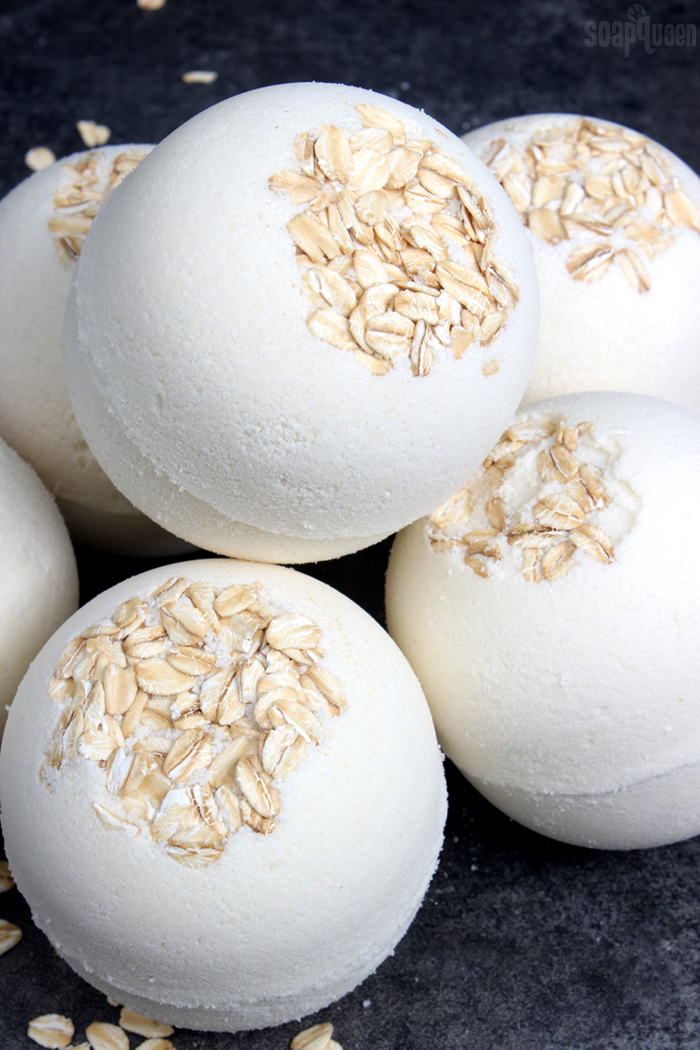
DIY Oatmeal Bath Bombs" width="700" height="1218" />

Oatmeal baths are well known for their skin-soothing properties. These Oatmeal Bath Bombs are made with oat extract and colloidal oatmeal to create a soothing bath experience. Colloidal oatmeal is micro-fine and fantastic for dry skin.

Oatmeal Milk and Honey Fragrance Oil gives these bath bombs a creamy, comforting scent. Cocoa butter adds structure and a chocolatey scent. A touch of oatmeal on top gives the bath bombs a finishing touch.

<a href=
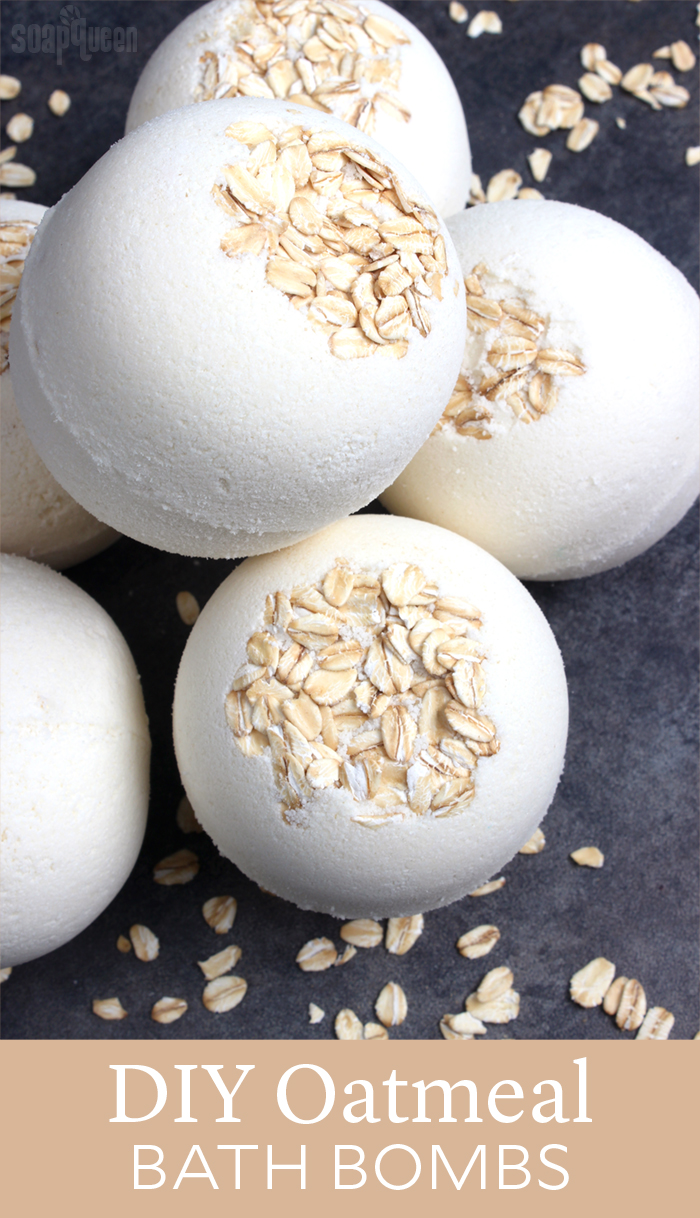
Oatmeal Bath Bombs" width="700" height="467" />

If you’ve never made bath bombs before, we recommend getting a batch under your belt that does not require a two-part mold. It can be a little tricky to get the perfect molding texture that will stick together and not crumble. Great recipe options for beginners include Rose Gold Bath Bombs and the Sand Dollar Bath Bombs. Watch the Surprise Bath Bomb video for tips on using the Stainless Steel Bath Bomb Mold successfully!

<a href=
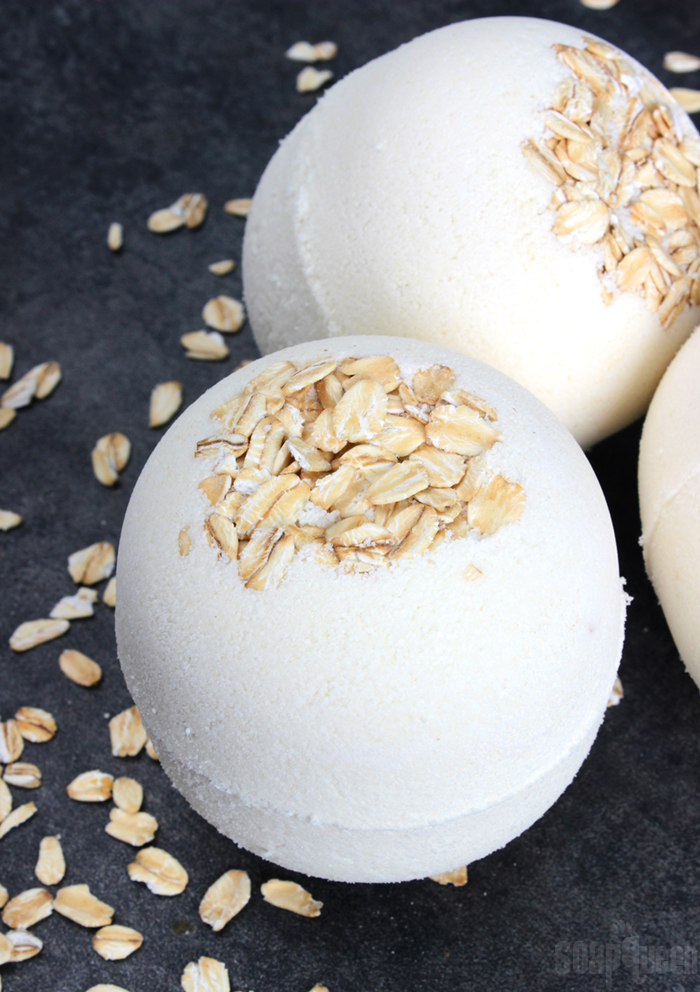
Oatmeal Bath Bombs DIY" width="700" height="992" />

What You’ll Need:
Stainless Steel Bath Bomb Mold
4 cups Baking Soda (Sodium Bicarbonate)
2 cups Citric Acid
1 oz. Colloidal Oatmeal
4 oz. Cocoa Butter
1 oz. Oat Extract
0.7 oz. Oatmeal Milk and Honey Fragrance Oil
0.6 oz. Polysorbate 80
Witch Hazel in a Spray Bottle
Optional: Cyclomethicone


Click here to add everything you need for this project to your Bramble Berry shopping cart!

OPTIONAL MOLD PREP: Cylomethicone helps the bath bomb release more easily. Pour a small amount on a cotton ball and coat both halves of the molds. This step is optional, but if you have never used the Stainless Steel Bath Bomb Mold before, it’s recommended.

OPTIONAL

ONE: In a large bowl, mix together the baking soda, citric acid, and colloidal oatmeal. To get rid of clumps in the mixture, you can push the powders through a sifter or break them up with your fingers. Citric acid has a tendency to take off nail polish, so wear gloves to protect your manicure. Thoroughly stir the ingredients together.

TWO: Add the cocoa butter to a small heat and fragrance-safe container and melt in the microwave using 30-60 second bursts. Be careful when removing from the microwave as the container may be hot. Add 0.7 ounces of Oatmeal Milk and Honey Fragrance Oil, 0.6 ounces of polysorbate 80, and 1 ounce of oat extract to the melted butter. Use a spoon to fully mix the ingredients together.

ONE
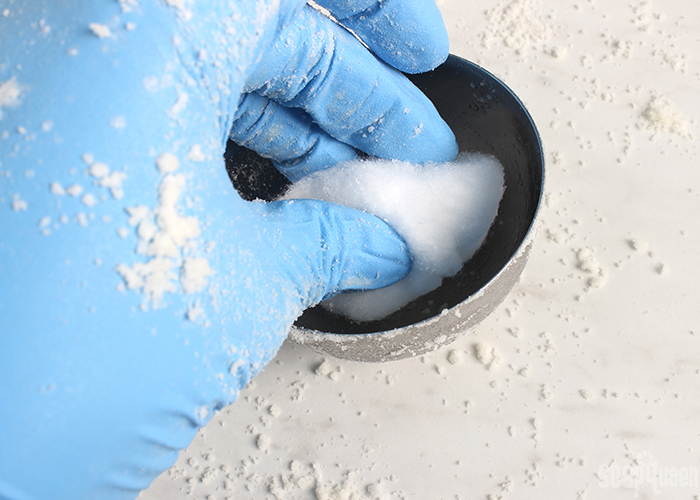
THREE: Add the oil mixture to the powder mixture. Use your hands to fully mix the ingredients together.

TWOTHREE
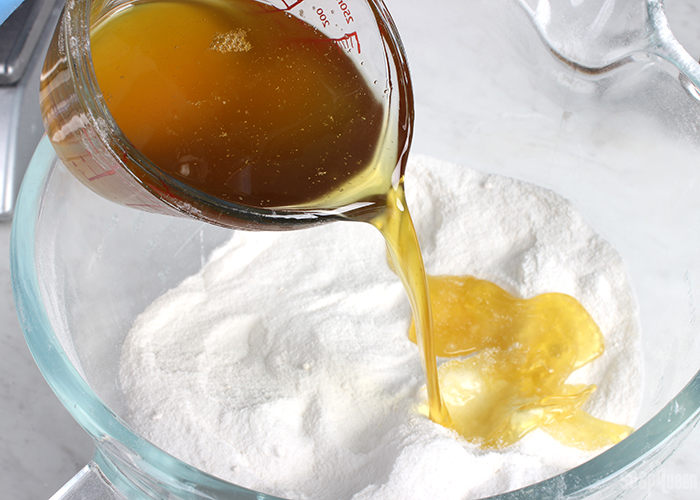
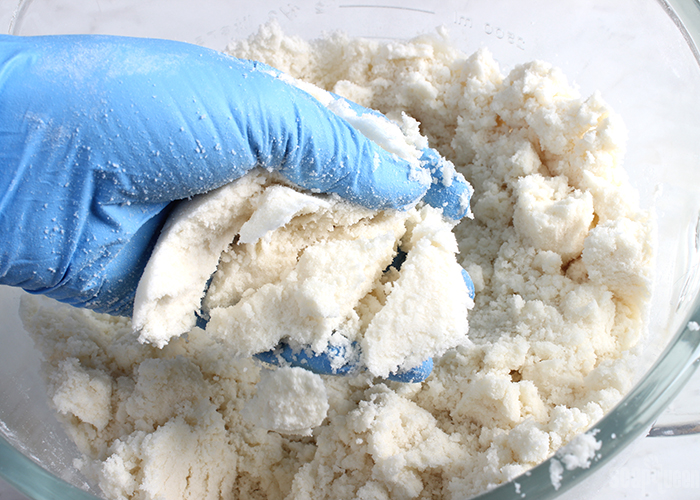
FOUR: Test the consistency of the bath bomb mixture. The perfect consistency for molding is a texture similar to damp sand that holds its shape when squeezed. If it’s too dry, use one hand to spritz the mixture with witch hazel and one to mix. Continue spritzing until the mixture holds its shape when squeezed. Below, you can see that the mixture forms a ball when squeezed. This means that the mixture will hold its shape in the mold as well.

FOUR
FIVE:
Add a pinch of oatmeal to the bottom of one half of the mold and cover it with bath bomb mixture. Press the mixture lightly into the mold. Fill the other half of the mold and press the mixture in lightly. Then, scoop more of the mixture on top until it’s mounded in the center. Fill up the second half of the bath bomb, mounding the mixture in the center again. Having loose bath bomb mixture on both sides of the mold and a mound in the center acts as the “glue” when they are pressed together.

FIVE
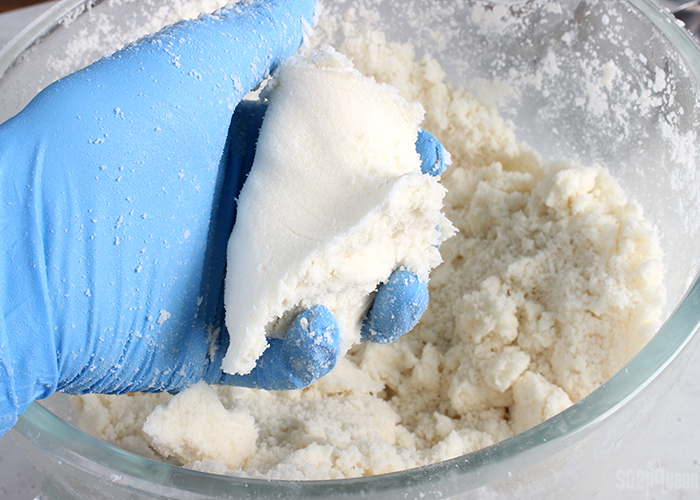
SIX: Press the two halves of the mold together firmly until they touch. Then, begin to twist and pull the top half off carefully. Once the top half is removed, allow the bath bomb to sit in the bottom half for several hours up to overnight. If they don’t stick together the first time, keep trying. It can be a little tricky to get the bath bombs to stick together, but practice makes perfect! See how to use the stainless steel molds in the How to Make Bath Fizzies video on Soap Queen TV.

SIXSEVEN: Repeat the process with the other bath bombs. When they’re unmolded, allow them to sit for 24 hours before using or wrapping in plastic wrap to protect them from excess moisture. Learn more about packing and storing your bath bombs in the How to Store Handmade Bath Products post.

Oatmeal Bath Bomb Tutorial

4.0 from 1 reviews

Mondo Oatmeal Bath Bomb DIY

image

These Mondo Oatmeal Bath Bombs feel soothing and luxurious in the tub.

Author: Soap Queen

Recipe type: Bath Bombs

Serves: About 7 Bath Bombs

Ingredients

  • Stainless Steel Bath Bomb Mold
  • 4 cups Baking Soda (Sodium Bicarbonate)
  • 2 cups Citric Acid
  • 1 oz. Colloidal Oatmeal
  • 4 oz. Cocoa Butter
  • 1 oz. Oat Extract
  • 0.7 oz. Oatmeal Milk and Honey Fragrance Oil
  • 0.6 oz. Polysorbate 80
  • Witch Hazel in a Spray Bottle
  • Optional: Cyclomethicone

Instructions

OPTIONAL MOLD PREP: Cylomethicone helps the bath bomb release more easily. Pour a small amount on a cotton ball and coat both halves of the mold. This step is optional, but if you have never used the Stainless Steel Bath Bomb Mold before, it’s recommended.

  1. In a large bowl, mix together the baking soda, citric acid, and colloidal oatmeal. To get rid of clumps in the mixture, you can push the powders through a sifter or break them up with your fingers. Citric acid has a tendency to take off nail polish, so wear gloves to protect your manicure. Thoroughly stir the ingredients together.
  2. Add the cocoa butter to a small heat and fragrance-safe container and melt in the microwave using 30-60 second bursts. Be careful when removing from the microwave as the container may be hot. Add 0.7 ounces of Oatmeal Milk and Honey Fragrance Oil, 0.6 ounces of polysorbate 80, and 1 ounce of oat extract to the melted butter. Use a spoon to fully mix the ingredients together.
  3. Add the oil mixture to the powder mixture. Use your hands to fully mix the ingredients together.
  4. Test the consistency of the bath bomb mixture. The perfect consistency for molding is a texture similar to damp sand that holds its shape when squeezed. If it’s too dry, use one hand to spritz the mixture with witch hazel and one to mix. Continue spritzing until the mixture holds its shape when squeezed. Below, you can see that the mixture forms a ball when squeezed. This means that the mixture will hold its shape in the mold as well.
  5. Add a pinch of oatmeal to the bottom of one half of the mold and cover it with bath bomb mixture. Press the mixture lightly into the mold. Fill the other half of the mold and press the mixture in lightly. Then, scoop more of the mixture on top until it’s mounded in the center. Fill up the second half of the bath bomb, mounding the mixture in the center again. Having loose bath bomb mixture on both sides of the mold and a mound in the center acts as the “glue” when they are pressed together.
  6. Press the two halves of the mold together firmly until they touch. Then, begin to twist and pull the top half off carefully. Once the top half is removed, allow the bath bomb to sit in the bottom half for several hours up to overnight. If they don’t stick together the first time, keep trying. It can be a little tricky to get the bath bombs to stick together, but practice makes perfect! See how to use the stainless steel molds in the How to Make Bath Fizzies video on Soap Queen TV.
  7. Repeat the process with the other bath bombs. When they’re unmolded, allow them to sit for 24 hours before using or wrapping in plastic wrap to protect them from excess moisture. Learn more about packing and storing your bath bombs in the How to Store Handmade Bath Products post.

3.3.3077