Read article : Part 5: Making room for our home’s hiding places

As we put the finishing touches on the plans for our home, our dreams of dinner parties in the finished open kitchen, of repurposed original sconces and refurbished original details, gave way to a less sexy obsession. The mop, the vacuum, our winter coats, the laundry. Specifically: Where would they all go and how could we banish them from sight?
In the New York prewar apartments we’d lived in for years, closets were strictly optional and washer-dryers were nonexistent. What made glossy interior photos appealing, I came to realize, was what you didn’t see, because it was tucked into a hidden closet or built-in cabinet. Renovating our house gave us a shot at discreet convenience.
Entering the first-floor apartment, pre-renovation, meant coming face-to-face with a faux-wood-grained cabinet door—in actuality, a false front. It was an arguably clever way to bump out the bathroom on the other side to make room for a turquoise jacuzzi-shaped tub. Otto’s initial plan for the enlarged bathroom included a non-aqua, 6-foot tub. But what we really wanted was an entryway closet. With a standard 5-foot tub, we gained a proper foyer and a narrow coat closet on the other side of the wall.
First-floor square footage was valuable, but we admitted to ourselves we would be much likelier to stay on top of the wash if it were integrated into kitchen chores and didn’t involve trekking up and down stairs. So Otto designed a new pantry/washer-dryer closet in the kitchen with an automatic light and stacking electric Miele washer-dryer. The same closet, which my partner later fitted with an Ikea Norberg table and some Elfa wire shelves, would also hold cleaning supplies and dog food.

One of our favorite ideas from Otto: Since our ceilings are 10 feet high, he suggested additional closet doors above both the entryway closet and pantry. The mini-closet above the pantry alone would provide an additional 15 square feet of storage. Our contractor, CNS, priced out the additional closet framing and custom doors at a very reasonable $600.
We could have added traditional closets to the bedroom. But we wanted to keep the non-utility rooms flexible, in case we add to our family or otherwise change how we used the house. The windowless room between the living room and bedroom would make a perfect walk-through closet.
Using left-behind plastic garment racks upstairs convinced me that I did not want open storage. Open storage is for the preternaturally tidy, which I am not, and I wanted seamlessness and harmony. Generally, getting to “seamless” means custom cabinetry. Otto estimated a wall of built-in clothes closets with nice doors could run around $6,000. Or we could hack some Ikea for less than a third of that.

We thought we’d left Ikea behind with our futon days. But that was before we had a designer who knew how to use its modular components precisely, or how to hack cabinet frames with custom doors. For the storage that was really going to put in the work, the old blue-and-yellow big box was it. With Otto’s help, we were soon on a first-name basis with the Ikea catalog.
Naturally, there are no short trips to Ikea. Not with the cavernous dimensions, the waits for returns, and the inescapable, interminable “full-service” pickup. It frayed domestic relations. “I feel so basic getting into a fight on the Ikea line,” said my partner, as we traded apologies on what felt like our 50th visit. By then, paying the impressively responsive Perfect Assembly $50 to $149 to shop and deliver from a New Jersey Ikea seemed worth every penny. (They also will put it together for you for a reasonable fee.)
We got lucky with Ikea’s ubiquitous PAX wardrobe boxes: three PAX frames in a row (small, medium, and large widths) just fit the walk-through closet space when bolted to the wall—no fill-in molding required. But my partner disdained the PAX doors: They were cheap-looking without even being that cheap.
Enter Semihandmade,* which makes a variety of doors for PAX frames that start at just $40 more a door than Ikea’s Hemnes doors, though you have to factor in production times and shipping from California.
We were trying to be disciplined about the finishes, sticking to neutrals knowing that color variation would come later with removable items like rugs and art. We sought to limit the number of wood tones we chose, settling on matte white oak (the same wood as the original staircase and the one we chose for the floors) and a darker walnut and mahogany. We promptly fell in love with Semihandmade’s flat-sawn walnut doors, which fit the moodier, cocoon-like feel we were going for in the bedroom suite.
We wanted a similar aesthetic consistency on all the house’s hardware: Almost everything new would be either antique brass to match the house’s original hardware, including the snakelike exterior door handle, or a more transitional matte black. (For the uninitiated, “transitional” is what bath and hardware manufacturers came up with to describe fittings that aren’t sleekly modern or fussily traditional, but streamlined enough to fit in with either decor.) For the closet doors, we picked inexpensive brass tab pulls whose clean lines didn’t compete with the beautiful walnut grain.
For the walls, we tried to be strict about sticking to white and three shades of gray, one of which, the blue-green-gray Night Train, we used in a glossier exterior finish (called Grand Entrance) that would only be found in the outer vestibule and door. We went with Benjamin Moore—already Otto’s go-to paint brand—who generously provided product.** After at least a dozen sample pots, we settled on Brushed Aluminum, the ideal ambiguous, warmer sage gray for key moldings and our foyer.
To hide television cords, we went back to Semihandmade for a $20 wall-mounted Besta frame topped with a DIY slab door ($44). Late one night when the contractors were gone, we painted the Besta door the same white we’d chosen for the living room and dining room, Benjamin Moore’s Snowfall White, in the hope it would simply recede into the wall. We added a matte-black handle from Atlas Homewares I’d ordered on Amazon as a sample for the kitchen.
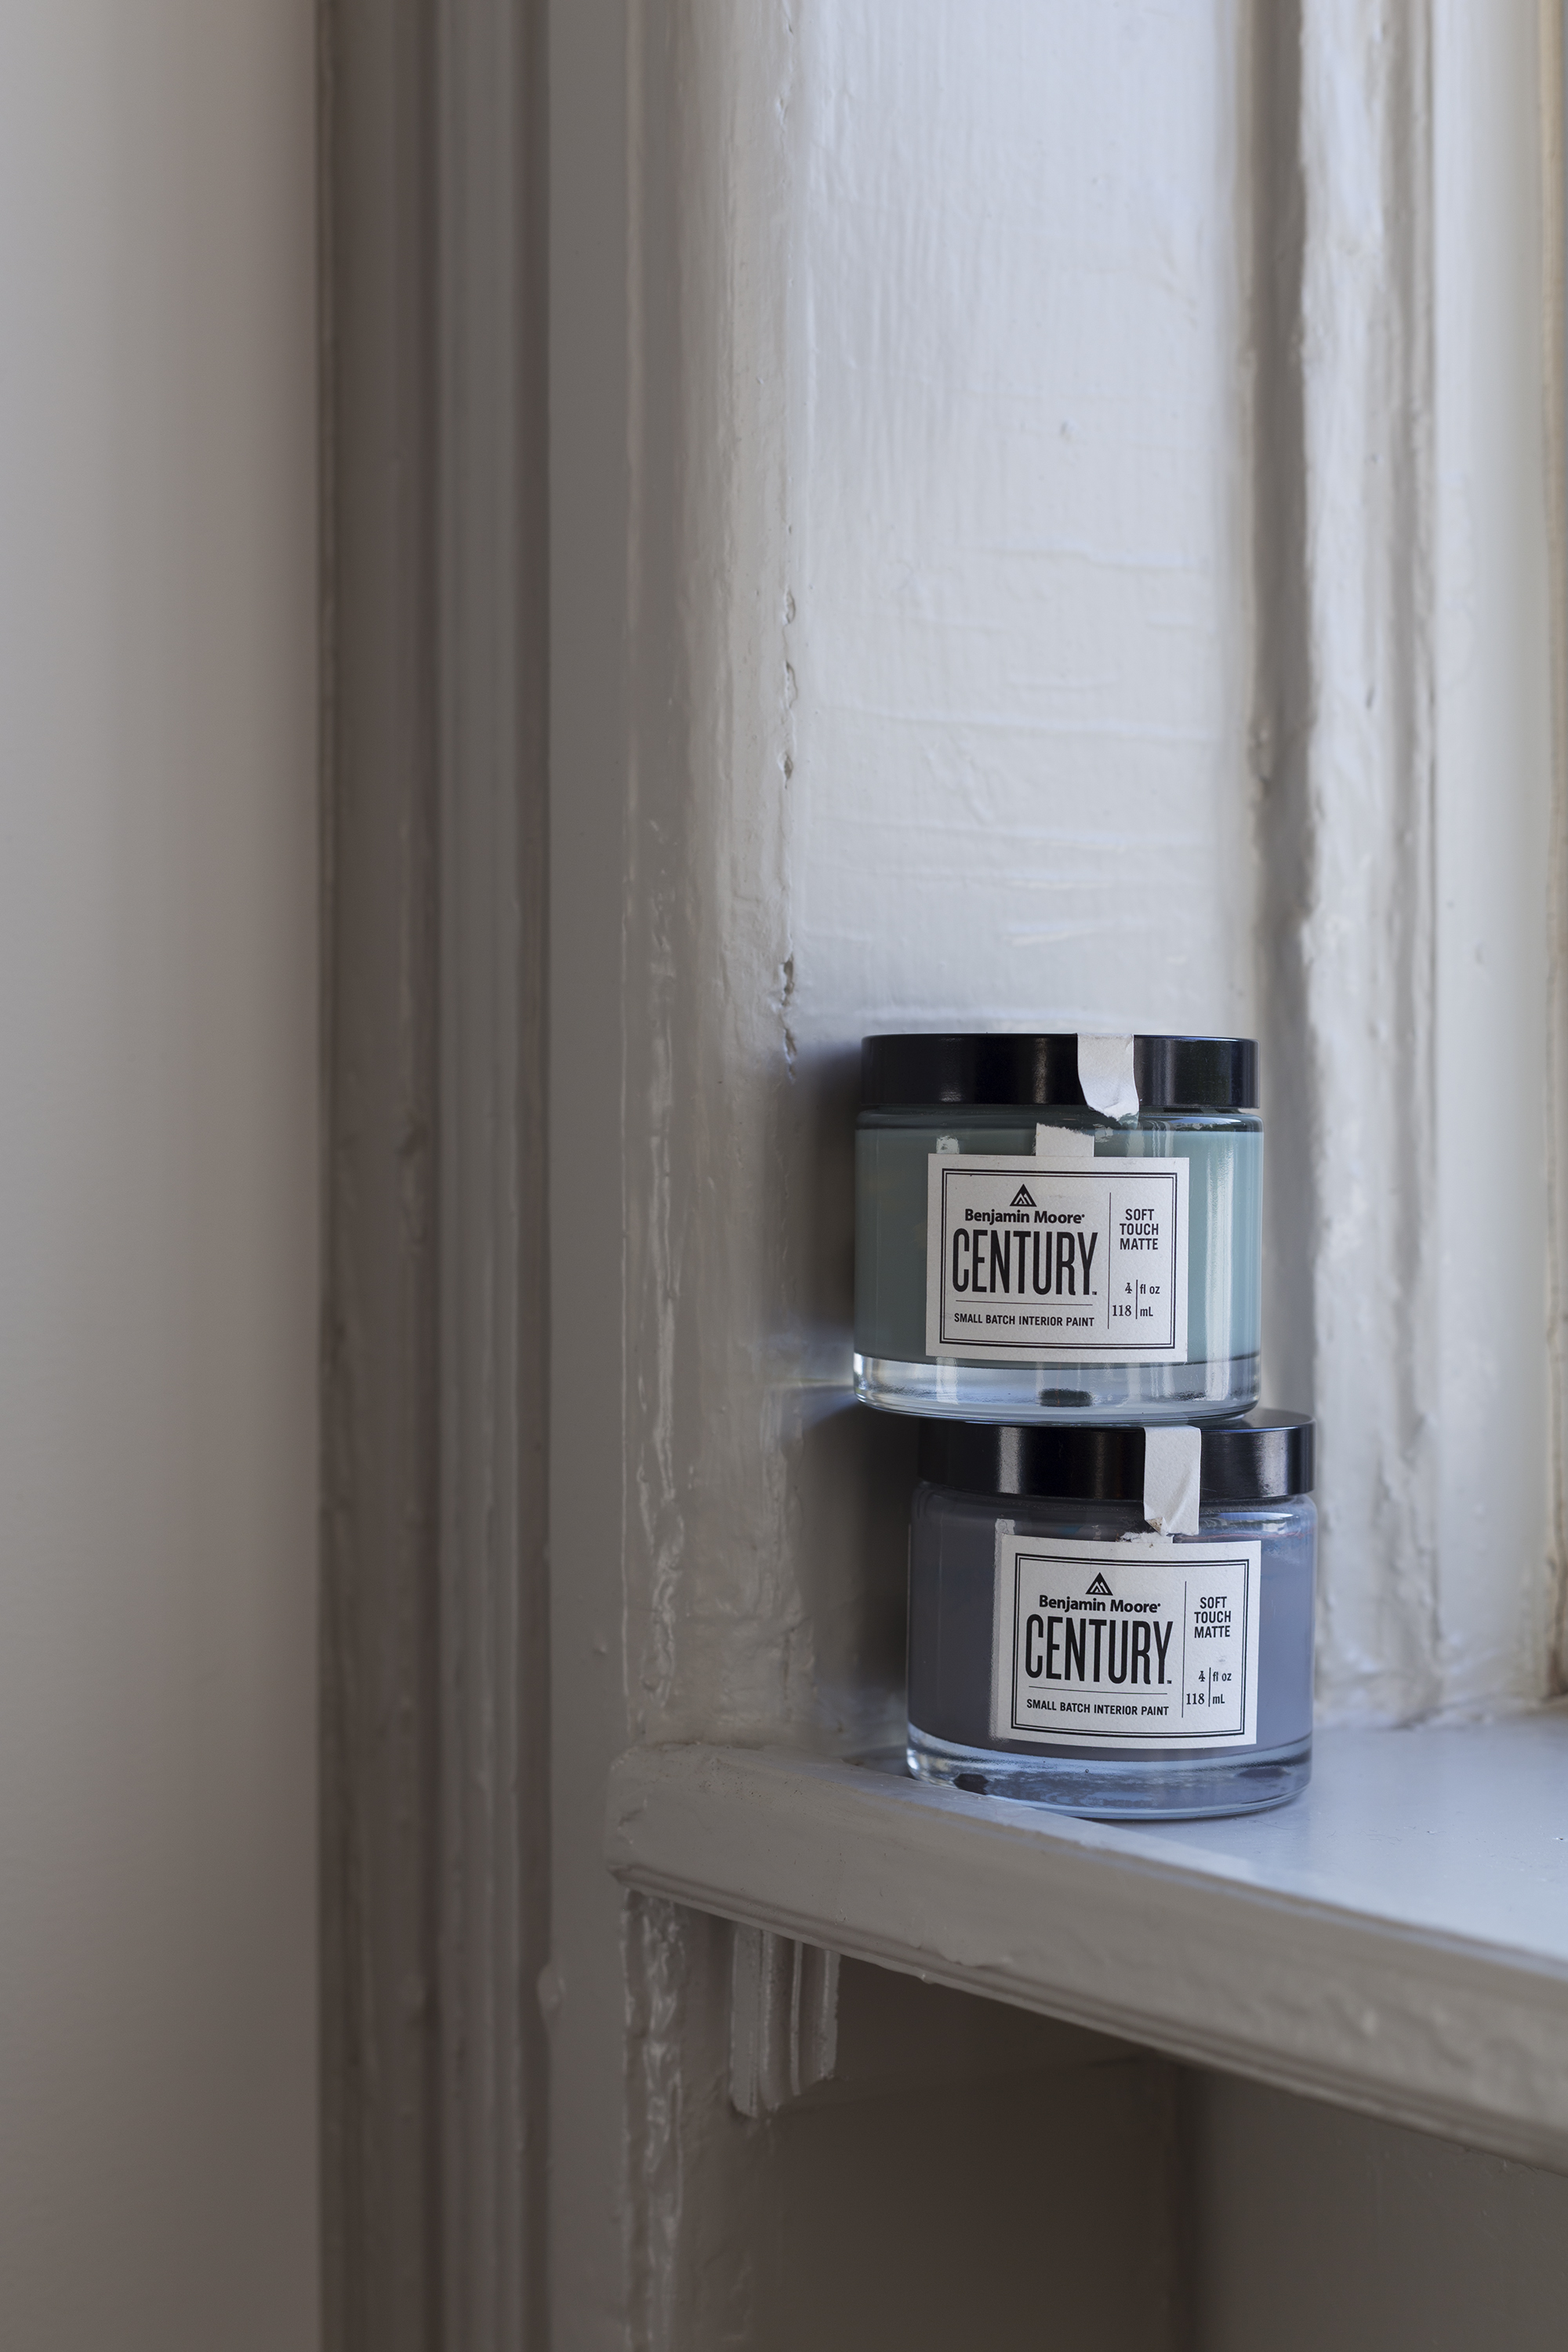
New to Benjamin Moore is the velvety Century line. Unlike the bajillion colors available in Moore’s other paint lines, Century is a much smaller selection of highly saturated colors—intriguing but intimidating—that have to be seen in person to be understood. My partner was averse to truly dark colors, so my love for dark teal would be limited to the office. After spending time with all the emerald tones, I picked Light Beryl.
For the bedroom area—both walk-through closet and bedroom—we chose Marcasite, which would also visually separate it from the sunny white of the more public rooms of the house.
Another cheap trick to attain the visual smoothness of built-ins: Painting Ikea Tarva furniture, made of unfinished pine, with the same Marcasite paint and then upgrading the hardware. It took all freaking night, what with two disassembled dressers and two nightstands, but in the end, we would have our “built-in” furniture at a fraction of the price.
*Semihandmade partnered with the homeowners on this project; they received a 50 percent discount on cabinet fronts.
**This project is sponsored in part by Benjamin Moore, who provided the Century paint.
Next week, onRenovation Diary:
Our intrepid homeowner finds out what happens when you try to carry slabs of marble on your own—and a peek at the finished bathroom.


